

A motorcycle vest takes a beating from wind, movement, and weather. Riding gear shifts across your shoulders. Sewing patches onto motorcycle vest material gives each embroidered patch a dependable mechanical hold for regular miles, especially on leather. The way you attach each patch matters long after the layout looks right. The short version is that stitching is the durable choice for a vest that will be worn on the road.
For the most dependable hold, sewing patches onto a motorcycle vest is the practical default, especially when the vest is leather. Denim is more forgiving and can accept standard needle and thread. Leather calls for a sharp, heavy-duty needle. Backing or adhesive may help with temporary positioning, but heat-activated backing can melt or damage leather. Treat it as a setup aid, not an automatic replacement for stitching.
Before you thread a needle, look at the vest material, the patch location, and how much movement that area sees. A few minutes of planning can prevent permanent needle holes, crooked placement, and repairs later. This guide breaks down what holds, what can go wrong, and how to build a patch layout that is ready for the road. If you are still shaping the meaning and arrangement of your vest, start with Motorcycle Patch Culture, Vest Customization, and the Art of the Kutte.
The Sewing Patches onto Motorcycle Vest Question, Answered
Sewing is the strongest general-purpose attachment method for motorcycle vest patches because stitches create a physical connection between the patch border and the vest. It works especially well on leather, where heat and some adhesives can damage the finish. On denim, sewing is still reliable, while backing can be useful for temporary placement or lighter-duty use.
A patch that looks secure on a workbench can start lifting once it meets real riding conditions. Wind pressure catches exposed edges. Your body moves inside the vest. Repeated flexing works on the thread, patch border, and base material. Attachment needs to account for all three.
Why leather needs a deliberate approach
Leather does not forgive careless attachment. A needle hole is permanent, so a patch should not be pinned and stitched until the layout is settled. Once you commit, moving the patch can leave a visible row of holes in your leathers. Check how the patch sits when the vest is hanging and when it is worn. Look at the balance between front, back, and side panels, and leave enough open space for future additions.
Heat-activated backing and adhesive deserve extra caution on leather. High heat can damage the material, while adhesive backings can melt or ruin the leather finish. Ironing may also shrink or discolor leather over time. That makes backing useful for positioning or for carefully selected situations. It is not a substitute for a durable sewn attachment on a vest that will see regular miles. Hot Leathers' sew-on and backed patch guidance can help you compare the options before you begin. Browse the full biker patch collection when you are planning a larger layout.
Movement changes the wear pattern
The more a patch flexes, the more important it is for stitches to hold the patch edge evenly against the vest. Loose corners can catch wind and begin pulling away. Uneven tension can pucker the panel or leave gaps where dirt and moisture collect. Stitch through the patch border for a clean, secure line without cutting across the artwork.
Use strong outdoor-suitable thread and inspect the edge occasionally for loose threads before a small repair becomes a larger one. Denim is generally more forgiving. It can usually be sewn with a standard needle and strong thread, while leather calls for a heavy-duty needle to reduce the risk of tearing. If the vest needs a different base layer, compare Hot Leathers motorcycle riding jackets with your existing leathers before finalizing the setup.
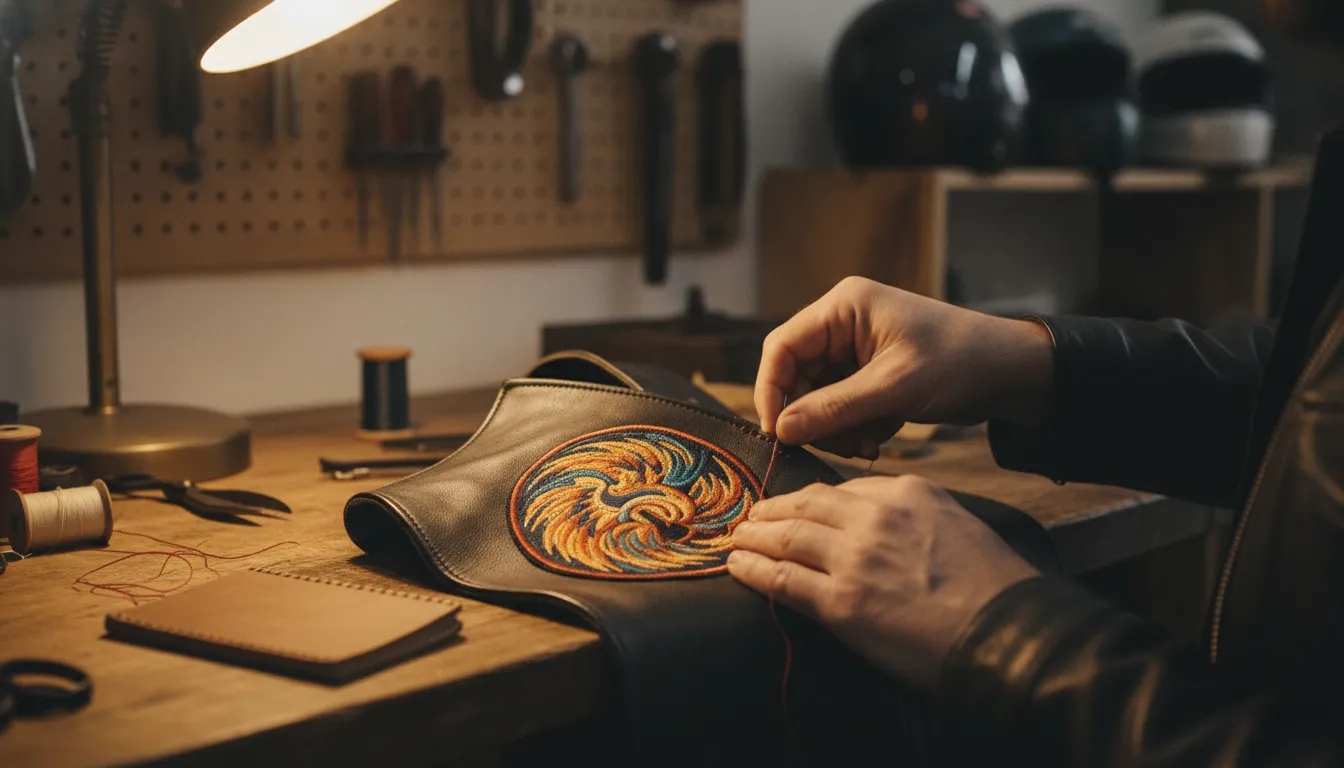
How to Sew Patches onto a Motorcycle Vest by Hand
Hand sewing gives Hot Leathers riders control over placement, spacing, and tension, especially when working with thick leather. Set up on a clean, flat surface and take your time. A patch is easy to move before the first stitch. On leather, every needle hole remains, so a rushed layout can leave permanent marks.
- Plan the layout. Put the vest on a flat surface and place each patch where you think it belongs. Leave room for future additions, and check the view from the front, back, and sides. For multiple patches, use light removable marks or a simple measuring reference to keep the arrangement aligned. Do not begin stitching until the placement looks right.
- Prepare the vest and patch. Make sure the outer surface is clean and dry. Smooth the patch flat and secure it with pins placed inside the embroidered border, or use a temporary positioning method that will not leave unwanted marks. With leather, avoid unnecessary pin holes and confirm the final position twice. The patch should not sit across a fold, pocket opening, seam, or other area that will interfere with normal movement.
- Choose the needle and thread. Denim is more forgiving, so a standard needle and strong thread may be suitable. Leather needs a sharp, heavy-duty leather needle. A dull needle can tear instead of piercing the hide, creating jagged holes that may expand. Choose strong polyester or nylon thread, preferably bonded nylon when weather and friction are concerns. Match the thread to the patch border so the stitching blends in.
- Keep the lining out of the seam. If the vest has a lining, work between the outer material and lining whenever the construction allows. Sewing through both layers can create a bulky ridge against your body and make the vest less comfortable. Turn or fold the garment carefully so you can reach the patch from the back without bunching the leather.
- Start with a secure anchor. Begin near the patch border with several small backstitches. Push the needle through with controlled pressure, using a sturdy thimble for dense leather. Keep the vest flat as you work. Hand sewing should feel deliberate, not forced, and your stitch spacing should remain consistent around curves and corners.
- Follow the embroidery border. Stitch close to the existing border, passing through the patch edge and vest with each stitch. Keep tension firm but not tight enough to pucker the patch or draw the leather inward. On curves, use smaller, evenly spaced stitches rather than pulling one long stitch across the bend.
- Finish and inspect. Return to the starting area and add several backstitches before tying off securely on the inside. Trim the thread cleanly without cutting the vest or patch. Check the entire border for missed sections, loose loops, uneven tension, or stitches that caught the lining. Inspect the patch after riding and repair loose threads before they catch or begin to pull the edge away from the vest.
If you are new to leather work, practice the stitch pattern on scrap leather or heavy fabric first. Use professional sewing help when the leather is too thick for your tools, the lining cannot be worked around. The patch placement is difficult to reach, or you are not confident making permanent holes.
When Does Patch Backing or Adhesive Make Sense?
Backing or adhesive has a place, but it is usually a situational choice rather than the final answer for a vest that sees regular miles. Start with the vest material, how much the garment moves, and whether you may want to reposition the patch later. For leather, use extra caution. For denim, the acceptable tradeoff depends on the garment and how you ride.
Leather calls for caution
Leather is the material least suited to heat-activated backing. Heat can shrink or discolor leather, and adhesive backing may melt or fail under high heat or repeated stress. It can also affect the finish in a way that is difficult to undo. For that reason, sewing is the durable choice for leather.
Adhesive can still help with temporary positioning. A light, removable approach may hold a patch in place while you check its alignment, spacing, and overall club-style layout. Treat that as a setup step, not proof that the patch is ready for the road. Once you are satisfied with the placement, stitching gives the attachment a better chance against wind, flexing, and repeated movement.
Denim gives you more options
Denim is more forgiving than leather. A standard needle and thread can work, and the material generally presents less risk during positioning and sewing. Some riders may choose backing for a lighter-duty garment or for a patch they expect to change. Even then, the result depends on the product, the surface, washing, wear, and how much the vest flexes. Do not assume that a backing designed for fabric will perform the same way on every denim vest.
For a denim vest used occasionally, backing may be reasonable when convenience and future changes matter more than maximum hold. Check the patch after washing and after a few rides. If an edge lifts, the fabric puckers, or the patch shifts, stop relying on the backing alone and sew it down.
Let the riding conditions decide
High-movement riding favors stitching. Daily commuting, long rally days, frequent layering, and a vest that gets handled hard all increase the case for a sewn attachment. Adhesive is less attractive when the patch sits across a flex point, near a seam, or on a surface that is regularly bent. When in doubt, use backing only to test placement, then choose a sewing method suited to the material and the way you ride.
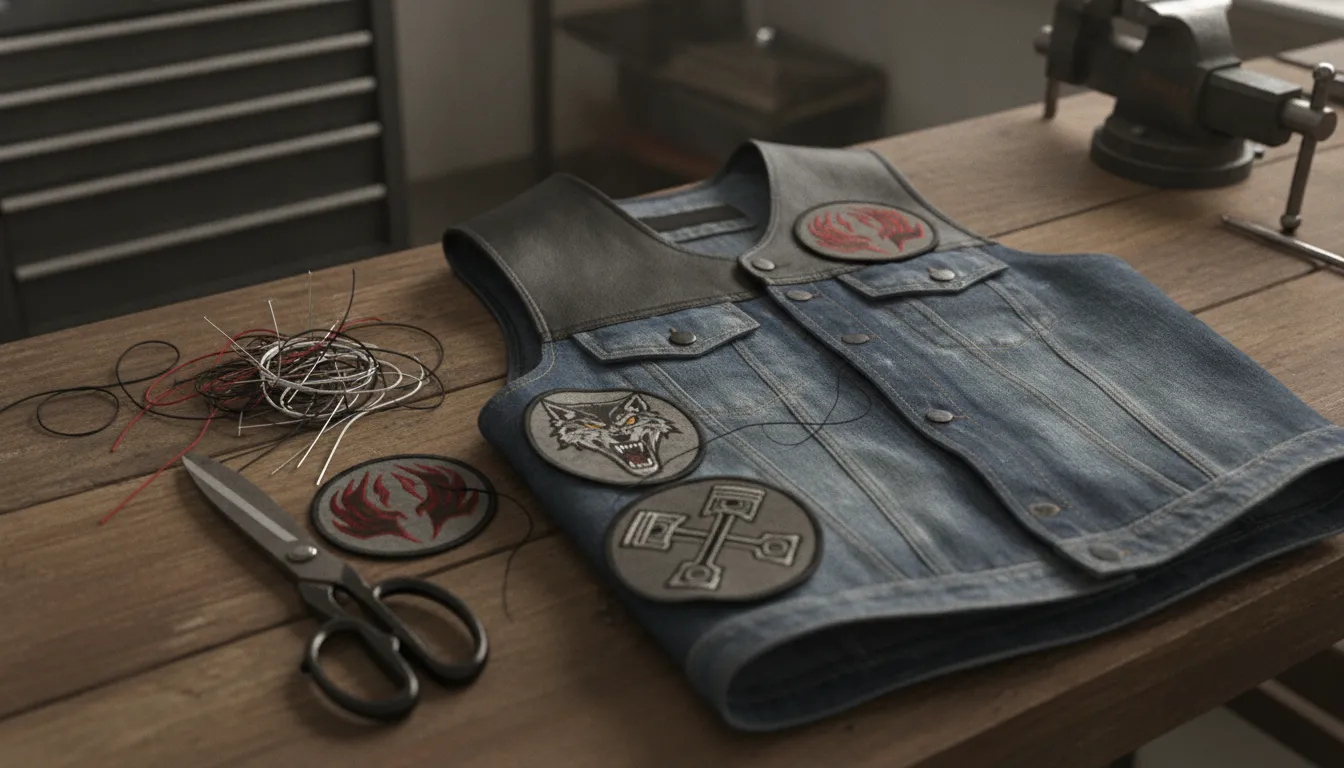
Sewing Patches onto Motorcycle Vest for Leather and Denim
For Hot Leathers riders, the vest material determines the best attachment method and the margin for error. Denim is more forgiving, so a standard needle and thread can usually handle a sew-on patch. Leather is denser and needs a heavy-duty needle, careful placement, and controlled hand sewing. Sew patches onto a motorcycle vest when regular riding, wind, and flexing demand a mechanical hold.
| Consideration | Leather vest | Denim vest |
|---|---|---|
| Best fit | Hand-sewn attachment is the practical default for a secure, durable result. | Hand sewing works well, and machine sewing may be suitable when the patch location is accessible. |
| Hand sewing | Provides control through thick material. Position the patch carefully because needle holes in leather remain permanent. | Generally easier to pierce and adjust, making it a sensible material for practicing your technique. |
| Backing or adhesive | Use caution. Heat-activated backing may melt, shrink, discolor, or otherwise damage leather. Treat it as a positioning aid, not an assumed permanent solution. | May be more workable for temporary positioning, but repeated movement and wear still favor stitching for a final attachment. |
| Useful tools | Heavy-duty leather needle, strong polyester or nylon thread, and a sturdy thimble can make hand sewing more manageable. | A standard needle and thread may be enough. A denim needle can help when working through heavier fabric. |
| Main cautions | Confirm the layout first, keep the vest flat, and avoid sewing through the lining when possible so the inside stays comfortable. | Keep the fabric flat and check that the patch sits smoothly before stitching. Dense layers can still affect needle choice and stitch control. |
For either base material, stitch close to the patch's embroidered border and keep tension firm without puckering the patch or vest. On leather, hand sewing gives you better control as you work around thick sections. On denim, the easier needle path does not eliminate the need to plan your layout. Leave room for future additions, especially if you are building a club-style arrangement over time.
For a vest that fits the way you ride, compare the materials and construction in Hot Leathers' motorcycle vest collection before planning your patch layout. For more hands-on guidance, read How to Sew a Patch on a Leather Vest before you commit to the first stitch.
Rally-Circuit Tips for Patches That Stay Put
For a Hot Leathers vest headed to a rally, plan for wind, movement, crowded parking lots, and plenty of wear. A clean layout and steady stitching help patches stay where you put them without turning the vest into a puckered mess. Good preparation protects both the look of the vest and the story you are building on it.
Set the layout before the first hole
Lay the vest flat and arrange every patch before sewing. Leave breathing room between patches, especially if you expect to add more after the next run or rally. Use removable marks or a few temporary pins to check alignment from both sides. On leather, take this step seriously. Needle holes are permanent, so a last-minute reposition can leave a visible trail of mistakes. A simple layout plan is better than chasing a club-style look one patch at a time.
Choose thread and tension for the material
Use a strong polyester or nylon thread, with bonded nylon a practical choice when the vest will see weather and friction. Match the thread color to the patch border when you want the stitching to disappear into the edge. Keep the tension firm enough to hold the patch flat, but not so tight that it puckers the leather or embroidery. Keep the vest flat on a stable work surface while you sew so the leather does not bunch and throw off your stitch spacing.
Finish every seam, then inspect it
Start and finish with several backstitches so the thread does not work loose. Keep the stitches close to the embroidery border and consistent around corners. If the patch has a tight curve or the leather is dense, slow down instead of forcing the needle. A sturdy thimble can help with hand sewing, and a sharp needle should pierce rather than tear the material. Avoid sewing through the lining whenever possible. Extra layers can create bulk and make the vest less comfortable when you ride.
Before each major ride, run a quick hand inspection around the patch edge. Look for loose thread, lifted corners, gaps in the seam, or a patch beginning to fold. Repair a loose section early, before it can catch on another garment or tear farther. Store the vest with the patches facing out and free from heavy weight. That helps prevent unwanted folding and creasing between rides.
Practice before committing
If you are new to sewing patches onto a motorcycle vest, practice on scrap leather or heavy fabric with a similar weight. Test your needle, thread, spacing, and tension there first. This is especially worthwhile before working on a finished leather vest. Hot Leathers carries patches for motorcycle vests in styles that can grow with your layout over time.
If the material is too thick for your tools or the placement is difficult to reach, a local tailor, leather repair shop, or professional sew-on service can be the smarter call. Correcting a misplaced hole in leather costs more than taking a careful pause before you start.
Shop biker patches for your vest
Frequently Asked Questions
What is the best way to attach patches to a motorcycle vest?
Sewing is the dependable choice for a vest that sees regular riding, wind, and movement. It is especially well suited to leather, where adhesive or heat-activated backing can fail or damage the finish. Stitch close to the patch border with strong thread. Inspect the work periodically for loose threads. See Hot Leathers' patch attachment guidance for material-specific direction.
Should I sew patches onto my leather motorcycle vest?
Yes. Sewing gives you a secure attachment without putting heat on the leather. Plan the layout carefully before you pierce the vest. Needle holes in leather are permanent. Use a sharp heavy-duty leather needle, keep the vest flat, and avoid sewing through the lining when possible so the inside stays comfortable.
How do you sew patches onto a denim motorcycle vest?
Denim is more forgiving than leather, so a standard needle and thread can work for many patches. Position the patch, secure it, and stitch around its embroidered border. A denim needle can help through heavier fabric, while hand sewing gives you more control over alignment and thread tension.
Can I use glue or heat-activated backing on my vest?
Use adhesive or heat-activated backing cautiously. It may suit temporary positioning or some denim applications. It is not the durable default for a high-movement riding garment. Avoid heat and glue on leather because they can stain, melt, shrink, discolor, or otherwise damage the material. Sew the patch when you want a repairable, long-term attachment.
Do I need a special needle to sew patches on a motorcycle vest?
Choose the needle for the vest material. Leather calls for a sharp, heavy-duty needle that can pierce dense hide without tearing it. Denim may accept a standard needle, although a denim needle can help with heavier layers. A sturdy thimble also helps when hand sewing leather. Bonded nylon or strong polyester thread works well for riding conditions.